

Chapter 1 | System Requirements and Installation
System Requirements and Installation
Minimum Hardware Requirements
RAM: 4 GB minimum
Video: OpenGL 4.5 compatible video card (4 GB RAM minimum)
See Recommended Hardware page for more information.
Go here to check system compatibility >
Operating System Requirements
In order to install Virtual CRASH 6, you must have the following operating system with Microsoft Internet Explorer version 8.0 or higher on your computer:
Microsoft Windows 7 64-bit
Microsoft Windows 8 64-bit
Microsoft Windows 10 64-bit
Microsoft Windows 11 64-bit
User Input Devices
Virtual CRASH requires both a 2-button mouse with scroll wheel, as well as a keyboard. Keyboards are primarily used for combined keystroke and click combinations, such as with using the <Shift>, <Ctrl> and <Alt>.

Installation
There are two ways to install the application:
From a storage device: If you have the installation executable on a local storage device, run the installation file from that location.
From the Internet: Go to https://www.vcrashusa.com/trial. Register for the free trial version and download from the provided link.
Please note, it is highly recommended to disable both firewall and anti-virus applications during the installation and automatic update process.
Installation Steps
The following steps will show how to install Virtual CRASH 6.
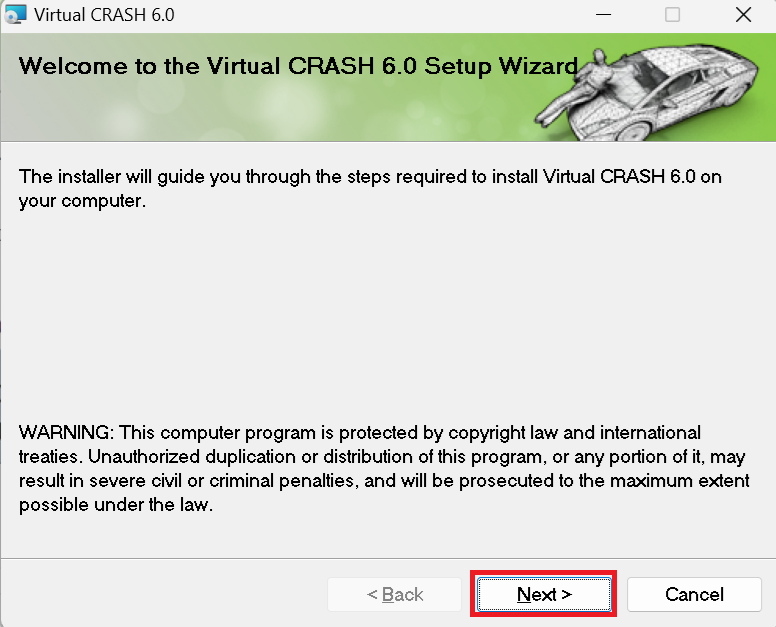
After downloading the Virtual CRASH 6 installation executable, launch the application on your local machine. The application window appears with the hardware and software requirements. Press the "Accept" button to start the installation.

Press next again to start installation.
Select the location where the application is to be installed. You can also specify the specific user who will have access to the installer.

Click on "Next" to get to the next window, which indicates that the installer is ready to install. English language users will see: "The installer is ready to install Virtual CRASH 6 on your computer."
Once again, click "Next" to start the installation application. Within a few minutes, depending on the performance of your computer, installation is complete. At the end of the installation, a new window will open to notify you that the installation was successful. For English language users, you will see the statement "Virtual CRASH has been successfully installed" appear.
Click on "close" to exit.
If prompted by Windows to run in compatibility mode, select “This program installed correctly.” Running Virtual CRASH either in compatibility mode or as an administrator may interfere with some functionality. See https://www.vcrashusa.com/kb-vc-article91 for more information.
The installation process is illustrated below.
The USB Dongle and Drivers
For each license of Virtual CRASH that is purchased, your organization will receive a physical USB dongle (“license key”). Note, this is not a hardware storage device, but a “key” to unlock Virtual CRASH software functionality. We require that Virtual CRASH software be installed locally on the same Windows desktop or laptop computer to which the display (monitor(s)) and user input devices (mouse and keyboard) used to operate Virtual CRASH are directly connected. The USB dongle must be plugged into this exact same local computer and cannot be used on a remote machine or through a network connection (see EULA). USB-to-IP Windows applications can disrupt the proper functioning of the Virtual CRASH USB dongle and may cause Virtual CRASH to launch only in trial mode. With the trial version launched, once a USB dongle is plugged into the user’s machine, all functionality will be enabled.
Your USB dongle must be plugged into your machine’s USB port to the full version of Virtual CRASH. Failure to plug in the USB dongle will result in Virtual CRASH to launch in trial mode. Please note, the USB dongle is not a thumb drive. It is a license management device.

Windows should automatically install the required drivers for the dongle on first use; however, in some rare cases this automated process may malfunction and installation of the drivers may not properly complete. In this case, the USB driver must be reinstalled.
Steps to reinstall USB drivers
1. Remove the faulty driver:
Open the Windows Device Manager. Open the "Universal Serial Bus controllers" menu and right click on SafeNet USB SuperPro / UltraPro. In the menu, click "Remove / Uninstall."
2. Driver reinstall:
At this step, it is assumed that Virtual CRASH is already installed. Find the location where you installed the application, open the subfolder Sentinel, and find the file superpro.exe. For example: C: \ Program Files \ vizi \ Virtual CRASH XX \ sentinel \ superpro766.exe
Run this application to reinstall the USB driver.
You can find an example of this process here:
Launching the application
The application can be launched by clicking on the Virtual CRASH 6 icon.
Graphics Card Check
Once Virtual CRASH 6 has launched, check the upper information bar to confirm that the name of your graphics card is displayed. This step is especially important if your system has both an integrated graphics card and a dedicated (or “discrete”) graphics card.
If the dedicated graphics card does not appear, you may need to adjust your Windows 11 settings:
Go to System > Display > Graphics.
Press Add desktop app and select Virtual CRASH 6.
Set the preferred graphics card to your dedicated card.
If you are unsure how to access these settings, you can find them quickly by searching for “Graphics” in the Windows search bar.
Automatic Updates
If your machine is connected to the Internet when you start the application, the application will automatically ask you if you would like to update should an update be available. If you click "Yes," Virtual CRASH will automatically download and install the needed files. Remember to disable firewall and anti-virus during this process.

During the update process, a window is opened as shown below, where the update contents are shown and stored in the root directory of the application. After finishing the upgrade, click "OK" to close this window.

After the update has completed, run the application again. The date of last update is indicated in the top line of the application window.
You can find an example of the update below:
Note, the latest update application can also be directly downloaded directly at: https://www.vcrashusa.com/update-application-download
In the event Virtual CRASH seems to only launch in trial mode, you may wish to try the steps discussed in this post: https://www.vcrashusa.com/kb-vc-article43
< Prelude | Contents | Chapter 2 >
© 2024 Virtual CRASH, LLC. All Rights Reserved