
Chapter 7 | Scaling Images and Diagrams
Introduction
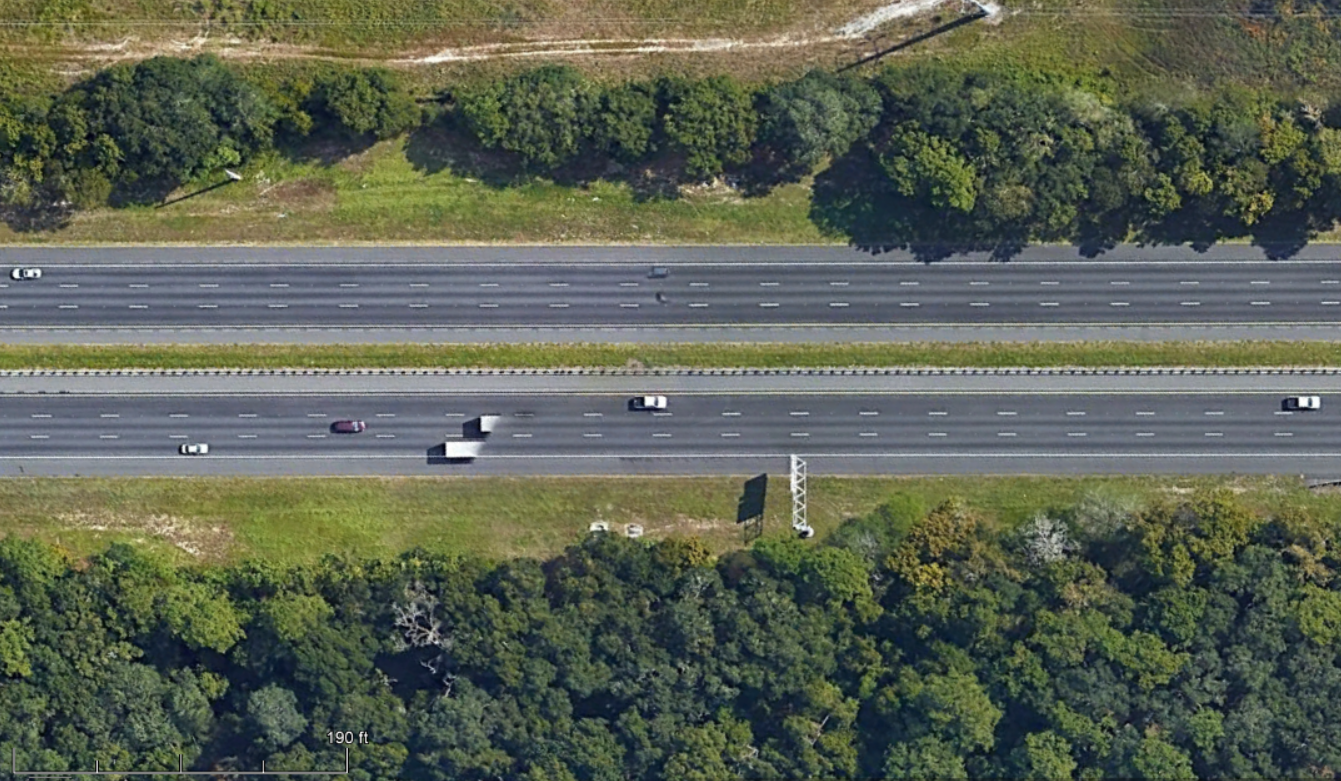
Virtual CRASH allows users to quickly and easily scale images within your project. This is an extremely useful feature for importing scale diagrams created in other CAD utilities, or for importing orthorectified aerial imagery (such as from Google Earth) for use as a backdrop of a scene diagram or animation. The example image below was taken from Google Earth Pro.
Modify Maximum Resolution Size
Before beginning, it is recommended to change the maximum image resolution setting for your graphics card. This setting will limit the size of imagery loaded into your graphics card memory to preserve system resources. In most cases, you can maximize this setting for your system without negative consequences. Go to the project settings (see Chapter 2) and use the “max. texture resolution” drop down menu in the “render” menu (see below). In most cases, you can select “max. supported” which indicates to use the maximum per image resolution supported by your graphics card.
Import Image into Virtual CRASH
To import imagery into Virtual CRASH for Public Safety, you can either drag and drop the image from the Windows file manager or use Project > Import.
Use the drop down menu in the lower right corner to change the file type.
You should now see your image on the x-y plane of the project environment.
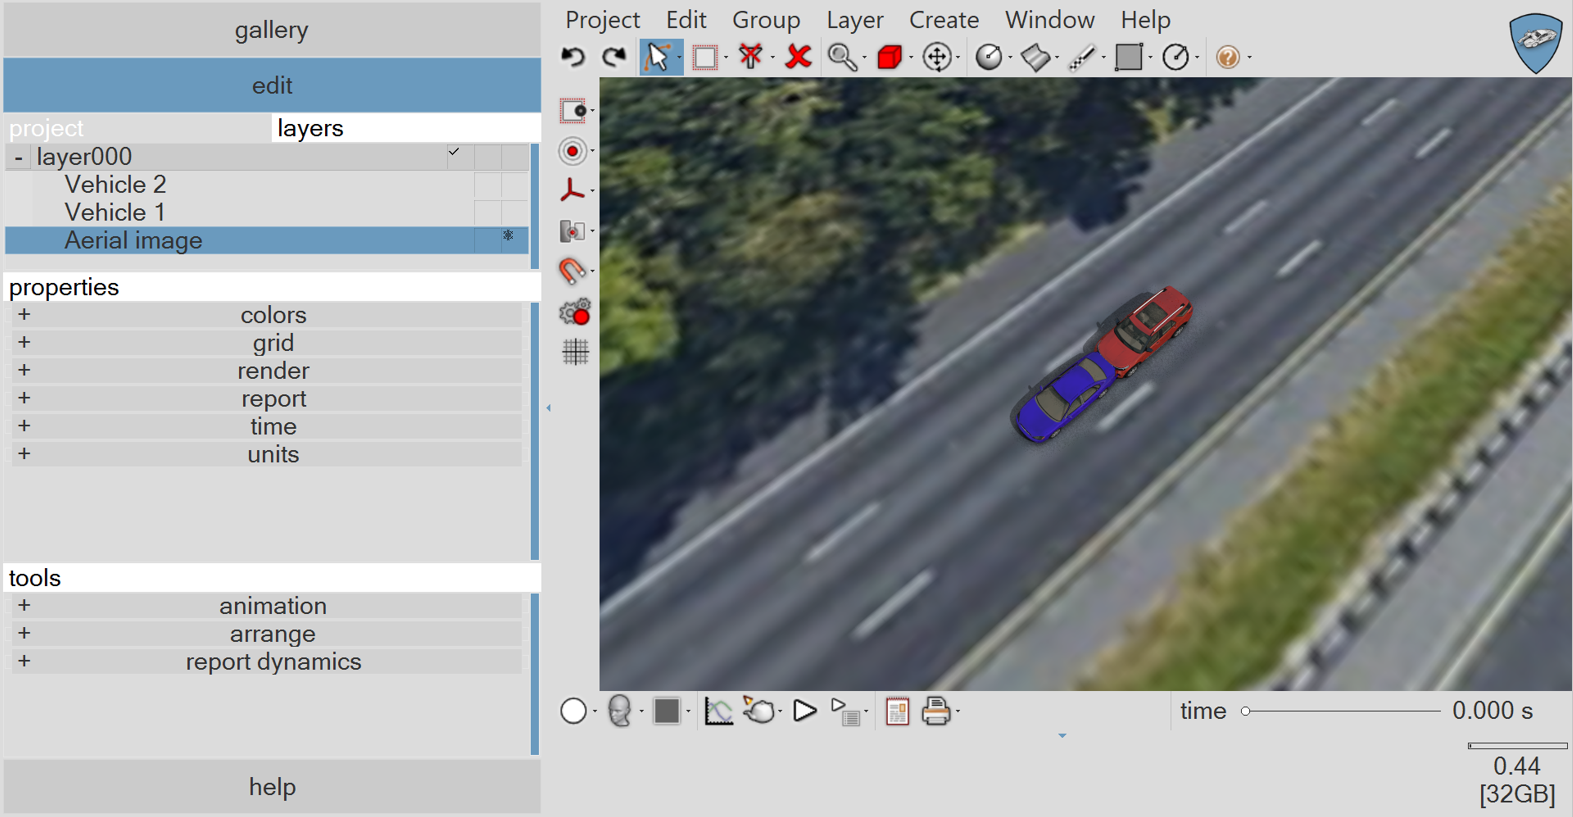
Next, switch to top-down orthographic view and set the mouse cursor to Select And Move or Select, Move And Manipulate (see below).
Scaling Procedure
Place Image into Scaled Image Mode
Left-click on the image to select your image within the environment, then right-click to bring up the pop-up menu (see below). Move your mouse cursor down to the “use” option and left-click on “original image,” then left-click again on “rectified image.”
This will place your image into “scaled image” mode as indicated by the dialog (see below). You’ll likely notice your image seems to shrink in apparent size. Do not be concerned with this.
Select the Scale Tool
Left-click on the “Scale” tool using the upper tool bar object selection type icon (see below). This will bring up the scale tool which should now be visible on top of your image. Do not be concerned with the units being displayed in metric.
Align the Scale Tool with the Image Scale and Enter Known Distance
Using the control grips (black dots) on each end of the scale tool, place the tips of each arrow on your image’s scale (or at visible anchors of known distance). Zoom in on your image as needed to ensure good alignment between the scale tool and your image’s scale. Open the “scale” menu in the left-side control panel and type in the known distance and press enter on the keyboard. You’ll see a preview of the image resize in response.
Switch back to object selection type and freeze the image or image’s layer.
You are now ready to use the image for your project.
Tags: Importing diagrams, importing drone images, scaling images, scaling diagrams, scale tool, scaled image.
© 2022 Virtual CRASH, LLC. All Rights Reserved