Blog | Summer 2019 Software Update B
As summer comes to an end, the Virtual CRASH team brings you more surprises with the Summer 2019 Software Update B. Read below to learn about the new feature improvements you’ll enjoy with this update. As always, we bring you these updates free of charge, with no required “maintenance” fees.
Render Single Frame to Image File
You no longer need to extract single frames from your avi files to make high resolution scale diagrams rendered in direct or skylight. Just go to the animation menu, select “use single frame”, enter the time value for the instant you want to render, select the size, render method, and supersamples. Note, codec setting is not used here.
Next, left-click on “create” just as when you are creating an animation. Use the file type drop-down menu to select bmp, gif, jpg, png, or tif.
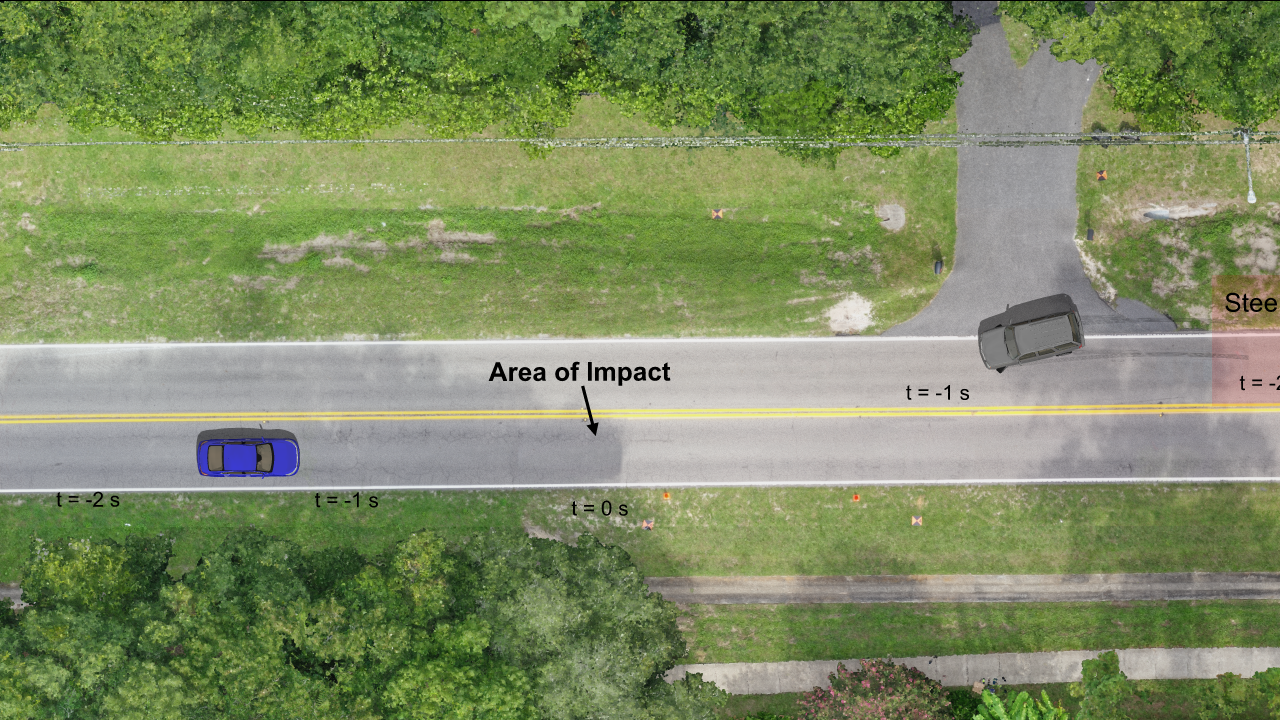
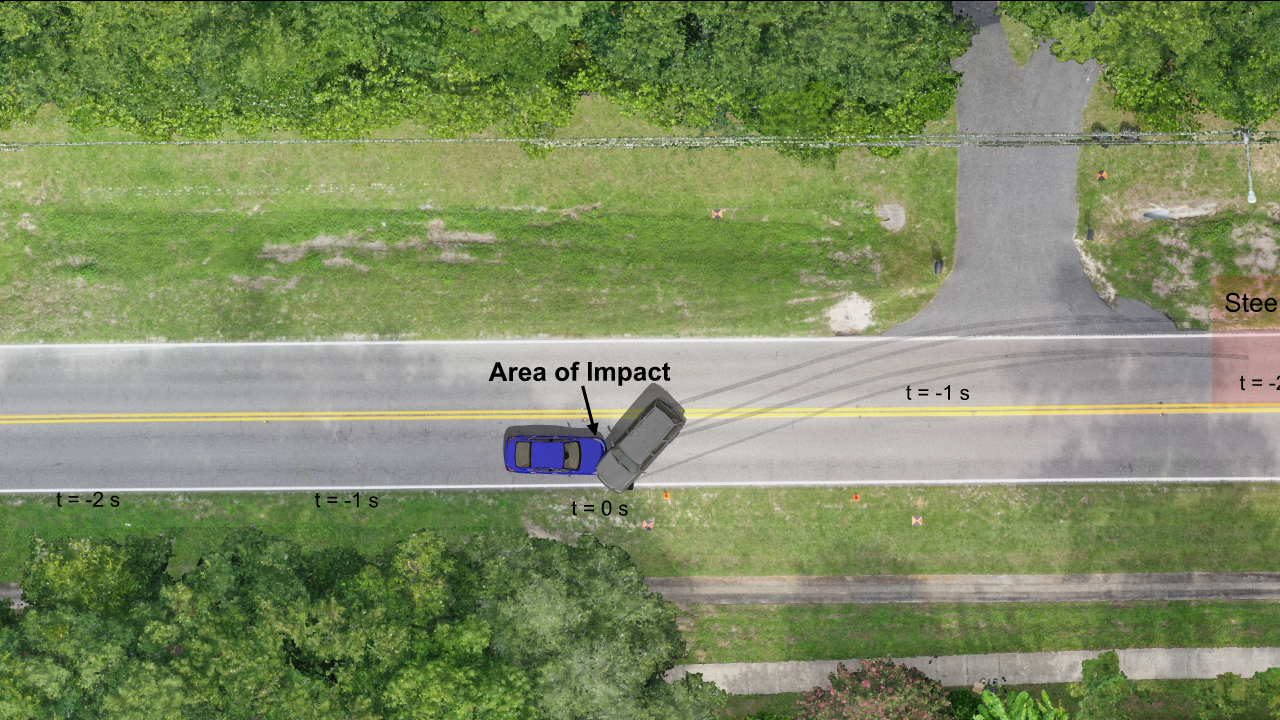
See this example rendered in 8K ultra high definition (see below to learn about 8K rendering).
Render Multiple Frames to Image Files
You can now render to bmp, gif, jpg, png, and tif files rather than avi. Simply ensure “use single frame” is not enabled. Set your animation properties as you normally would (note, codec is not used for this option). Left-click on “create”. Use the file type drop-down menu to specify the image file type you wish to save to. Type your file name and press save.
You will then see individual image files in the file folder. The images will be automatically numbered.
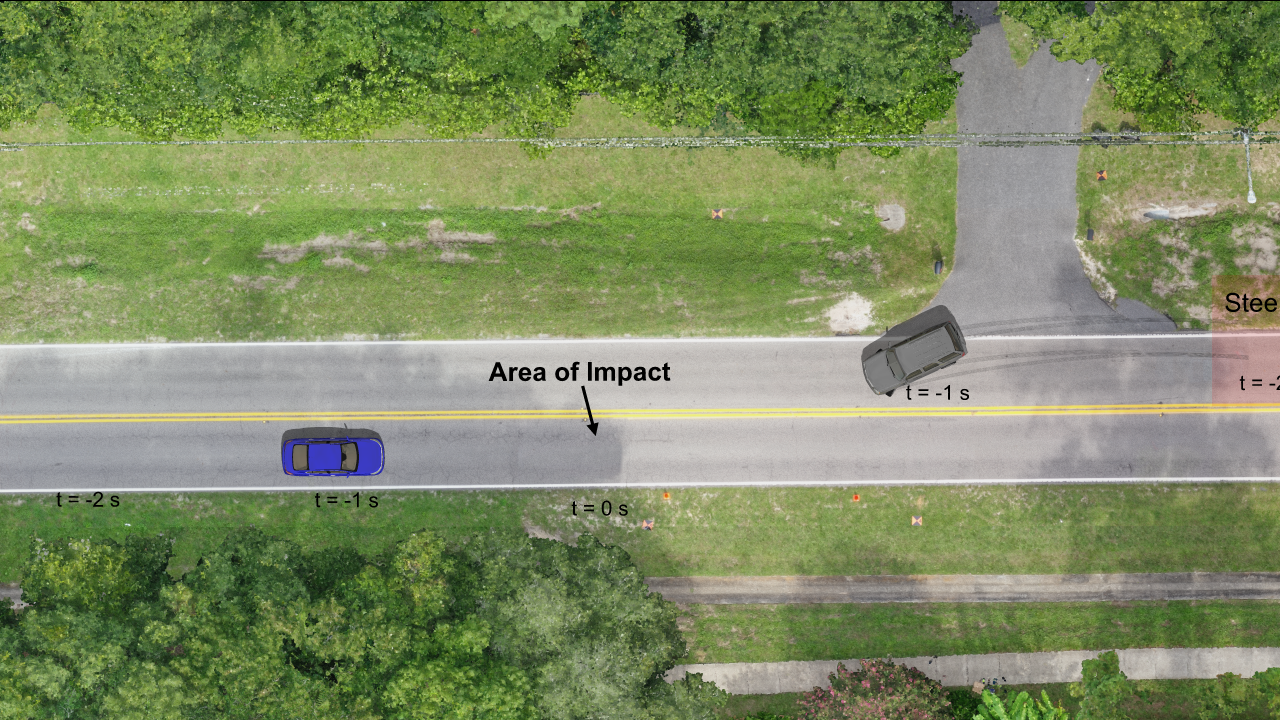
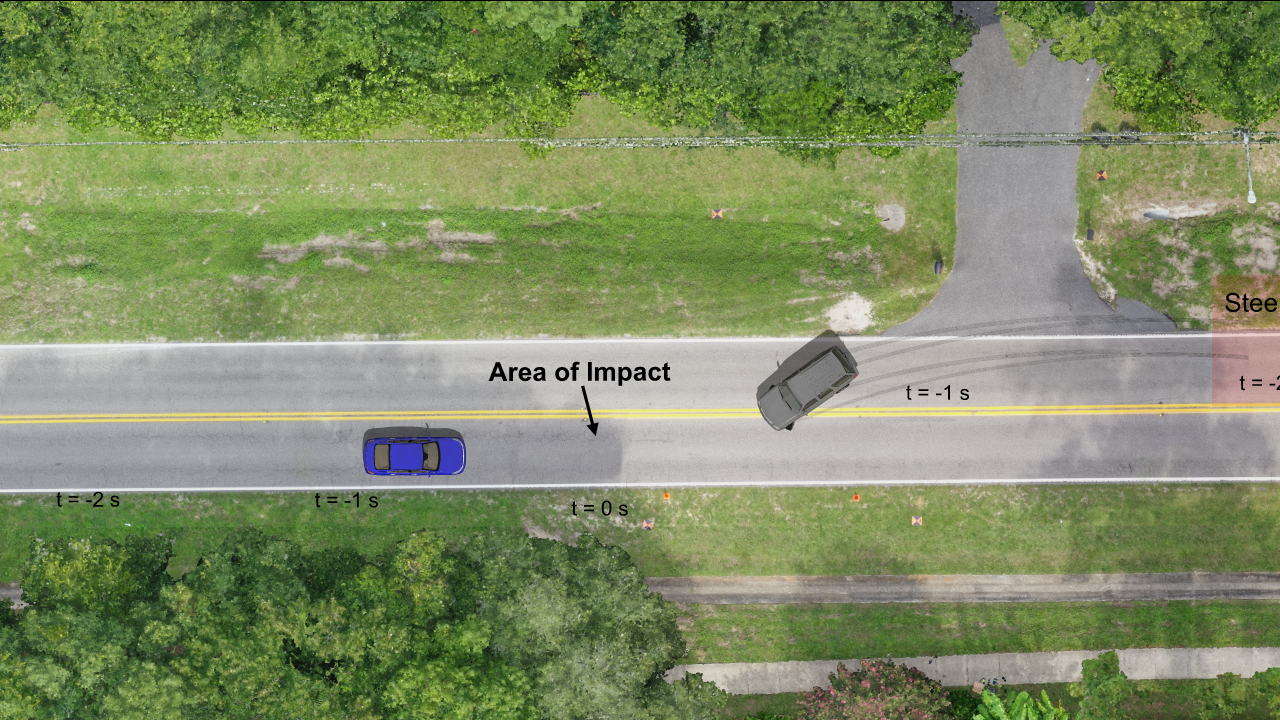
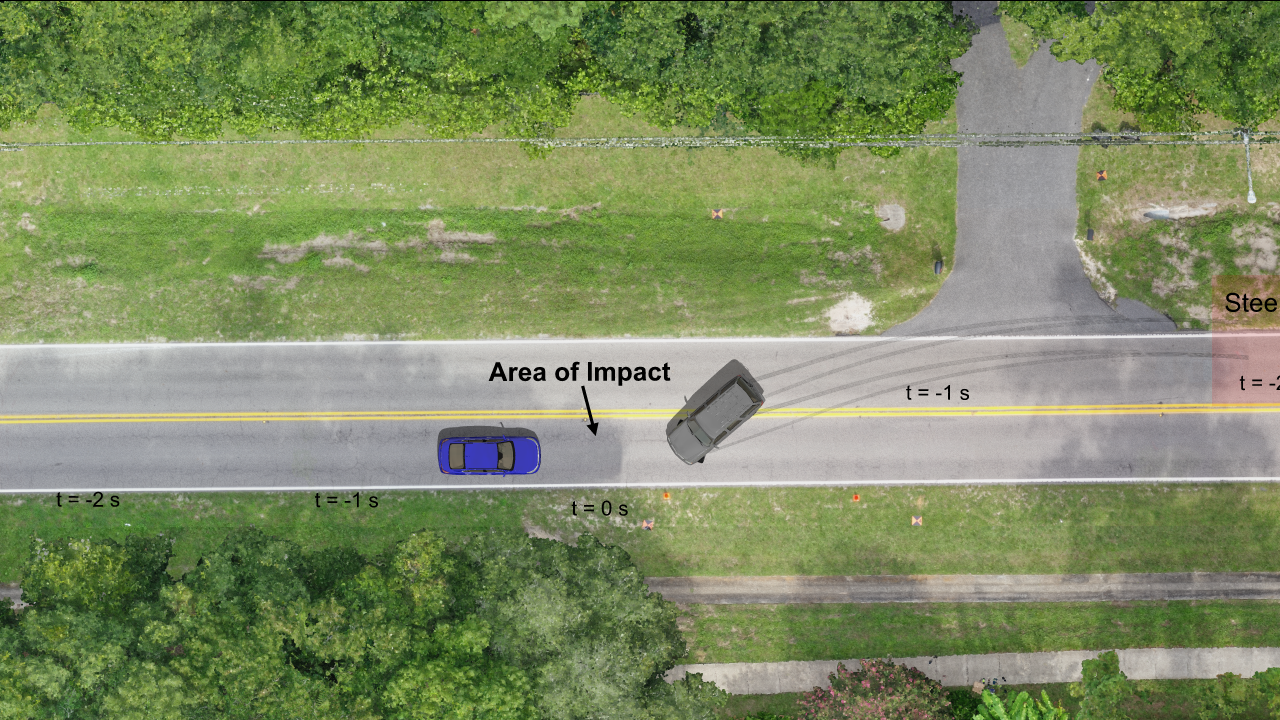
Here we see a few of the image files.
New Render Options
5K, 6K, and 8K Ultra High Definition
Using direct or skylight, you can render your single frame images or avi file in incredible 6K and 8K ultra high definition. Simply go to the “size” option in the animation menu to access these new render options.
Print to Scale using Direct or Skylight
Now you can generate printed outputs set to your desired scale using direct light or skylight render options. This is a great option for generating high definition poster-sized scale diagrams for court. The print feature is described in great detail in this Knowledge Base post: https://www.vcrashusa.com/kb-vc-article73. It is highly recommended to read this post first before proceeding.
To use this new feature, first left-click on the printer icon and set-up your page. Next, set the scale at which you wish to print. Next, left-click on the printer icon again, and select the render type you want to use (current view, direct light, or skylight).
Next, left-click on the printer icon and select “Print Preview” to preview the image quality and placement on the paper.
Finally, print the physical diagram, or print to a pdf file (we recommend using Microsoft PDF for this).
Improvement to the Smart Alignment Tool
The first Summer 2019 Software Update brought users the powerful Smart Alignment Tool, which made it easier to import and automatically align point cloud, orthomosaic, and total station / RTK GPS data. With the Summer 2019 Update B, we’ve added an improvement to the Smart Alignment Tool. Now, when both a point cloud and point array dataset (total station or RTK GPS) are simultaneously imported using the Smart Alignment Tool, the point cloud will be given priority for z-alignment, whereas before this update priority was given to the point array. This means now once the point cloud is fully loaded into your environment, its z-position will be set such that the lowest point in the point cloud will sit on the x-y plane (z=0). The z-position of the point array will then be automatically adjusted such that it’s automatically aligned with respect to the point cloud. In the example below, we show our point cloud data with lowest point at z=0. The RTK GPS points (used for ground control in Pix4D), were then automatically aligned in z with respect to the point cloud. The x-y placement of both the point cloud and point array are determined by the tfw file, which the Smart Alignment Tool automatically reads and interprets, and are set such that they will be automatically aligned with an orthomosaic if selected during import.


