

Blog Post | Customize Your Sky
Last updated July 21, 2025
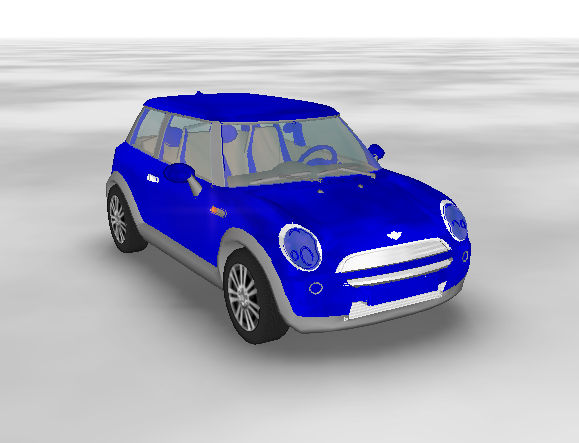
If you’ve spend any time on our home or features page, you have no doubt come across some of our beautifully rendered graphics like this:
This was accomplished by disabling the use of the image files responsible for the default sky used by Virtual CRASH 3. Here is an example using an all-white sky in a video animation:
In this blog post, we will discuss how to create custom sky modifications. In particular, we will focus on creating (1) The interactive sky feature in VC6, (2) an all-white sky and environment, (3) an all-black sky, and (4) a sky with stationary cloud effects.
Interactive Sky Control in VC6
To learn more about interactive sky controls built into VC6 (illustrated in video below), see the Virtual CRASH 6 User’s Guide (learn more).
Bright sky for VC5 and VC4 Users
In Virtual CRASH 5 and 4, users can quickly create a stylized white sky effect by modifying the environment lighting settings. This is shown below.
Notice in the example above, the sky isn’t completely white. For a completely white sky effect, follow the instructions below.
All white sky in VC3, VC4, and VC5
You will first need to locate the shader file "default.shd" in your installation area. This can be found in the /data/ directory:
This file contains all of the definitions for the various material types found in Virtual CRASH 3. It also contains the definition for the sky properties. Before proceeding, it is strongly recommended to make a copy of the "default.shd" file and store it somewhere on your hard drive for safe keeping. You can also download the file here. Whenever you need to restore your shaders to their default settings, simply copy the file from your safe area back into the /data/ directory.
Use your favorite text editor to open default.shd. Notepad will work just fine. When you open the file, here is what you should see:
Now that you know where to find the shader file, let's move on to each specific case.
All white sky and environment
Two examples using an all-white sky and environment were shown above. First, set the first three AMBIENT values to 0.3:
Next, set the first three DIFFUSE values to 1.0:
Then, set all SPECULAR values to 0.0:
Finally, locate all sky shaders. These will start with *SHADER "sky_. When you find them, simply remove the "n" from the file extension ".png".
This will basically give an invalid filename to Virtual CRASH, and cause no image map to be used for the sky. If you're curious what these image maps look like, VC3 users simply take a look in /shapes/textures/sky/ (you can modify these files too if you wish):
Note: VC4 users will find the sky image files in ui/textures.
There are six png file references that need to be disabled: top.png, bottom.png, front.png, back.png, left.png, and right.png, where the corresponding shaders are: "sky_up", "sky_dn", "sky_fr", "sky_bk", "sky_lf", and "sky_rt". Each of these images essentially map onto the face of an imaginary cube which surrounds the Virtual CRASH 3 environment. By deleting the "n" from ".png", you are intentionally telling Virtual CRASH to use files which do not exist, and so no map is used.
Now save your shader file. Depending on how the permissions of your computer are set up, you may need to first save the default.shd file to a temporary location such as the Desktop. Then simply drag the file icon back into the /data/ directory and overwrite the default file. Restart Virtual CRASH 3, and you should now see a nice white background when you render.

You can download a version of the white sky shader file here. Change the file name to "default.shd" and then copy into the /data/ directory.
You can watch a video of the process described above here:
Continue reading below if you want a black sky box independent of the environment lighting settings.
All black sky in VC3 and VC4
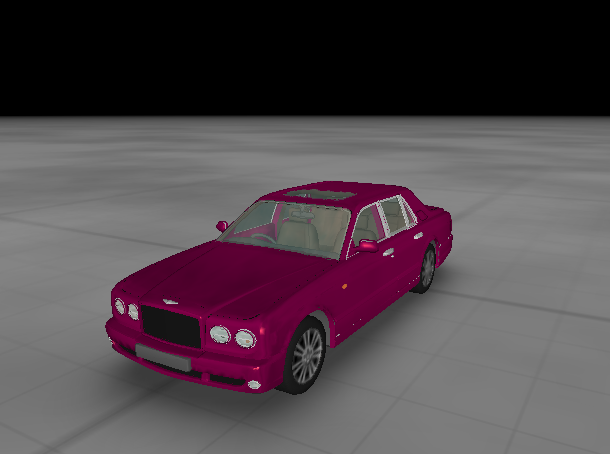
In the example below, we will start with our unmodified default.shd shader file. Occasionally, it can be beneficial render your animation using a black sky, in particular for a night time accident. Below is an example using an all-black sky for an ad video:
By default, creating an invalid file reference for the sky image map .png files causes all white to be used. This means we must create an alternative set of black image maps if we want a black sky. Go to the /shapes/textures/sky/ directory and open top.png (Note: VC4 users will find the sky image files in ui/textures.). Using an image painting program like MS Paint, color the image all black:
Create a directory on your desktop and name it "BlackSky." In your BlackSky directory, save the all-black image to the file names: top.png, bottom.png, front.png, back.png, left.png, and right.png:
Keep this directory of images somewhere safe on your hard drive. You can download a zip file of our version here. You should also go to /shapes/textures/sky/ and save each of these to a new directory called DefaultSky. You can download a zip file of our version here. Save this directory somewhere safe on your hard drive.
Now open your BlackSky directory. Copy all of the files from BlackSky into /shapes/textures/sky/:
Here is what you should see after the images have been copied:
Now restart Virtual CRASH 3. Your sky should appear all black:

Stationary clouds
On some occasions, you may wish to freeze the scrolling cloud motion that is visible on reflective objects. This comes in handy in times where you need to split your animation into two parts and merge them together in an animation tool like Camtasia; if both halves of the animation contained scrolling cloud reflections, it may be obvious where the two halves are merged together. For example, in the animation below, you'll notice there are no moving clouds visible on the reflective surfaces, and so it is nearly impossible to tell where the first half of the animation ends and the second half begins:
Here we'll assume the default shader file is in use and the default sky image maps.
Once again, open up default.shd. Search for "TCMOD scroll":
As you find each line, place a "#" symbol at the beginning of the line:
Do this for every line that contains the search phrase. Save the file to the /data/ directory as described above and restart Virtual CRASH 3. You can find shader file here. After downloading, be sure the change the name to "default.shd" before copying to the /data/ directory.
Below you will find a video demonstrating the proceedure:
For reference, here are the various files shared above: